

All things nails FAQ!


Many people question the integrity of press on nails because they do not know themselves how to properly size, prep, and wear a nail extension. We have created a list of FAQ’s we receive regularly to clear up any confusion and to help you get the best experience with your nails!
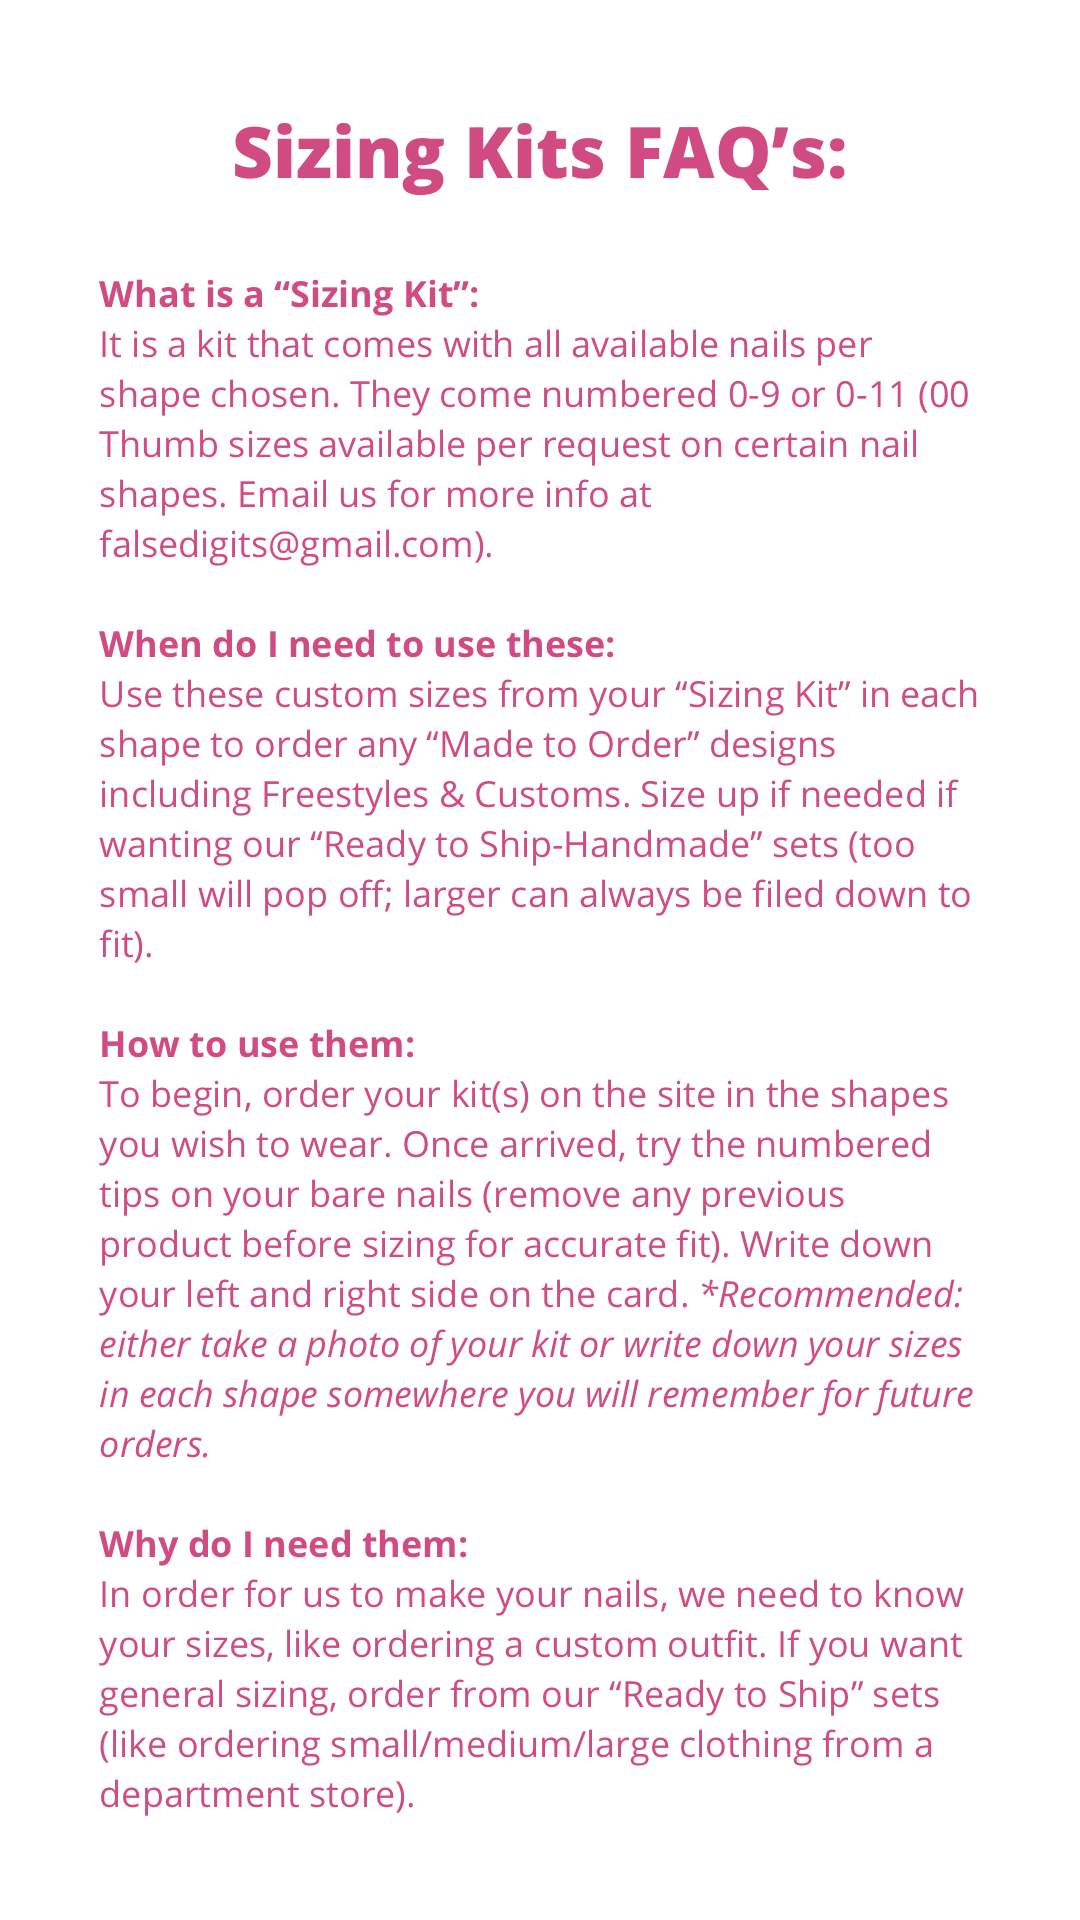
- How do I know my Nail size?
- The best way to get your proper nail sizes is to order a sizing kit through the website. Choose your favorite shape(s) and insert your sizes (either 0-9 or 0-12 options) in the comment box at checkout (make sure to order different kits if wanting to wear different shapes. Most fit differently)!
- Are the sets reusable?
- All sets are reusable if you wish! If you are satisfied with the condition they are in once removed, you will need to reshape to your liking by filing the edges with provided file (or acquire your own from your local beauty supply) and remove excess glue underneath with our Battery-Powered E-File.
- How do I apply the nails?
- Step 1- Make sure your nails are free of any product.
- Step 2- Order a sizing kit to find exact sizes for your natural nails.
- Step 3- Push cuticles back with a provided wood stick, making sure the cuticle lifts off the nail plate for better adhesion (PRO TIP: use shape of press on to push cuticle back. This allows the shape to match with your cuticle much better). If you feel comfortable, acquire a cuticle removing drill bit to make sure you get a clean removal on the nail plate or a cuticle sanding stick from your local beauty supply.
- Step 4- Use provided file/buffer (or acquire your own) to buff the entire natural nail (PRO TIP: get as close to the cuticle as possible for better adhesion and do not be shy. If you do not rough the surface up enough it will not stick as well). If using an e-file or hand file, use 150 grit to maintain the integrity of the natural nail.
- Step 5- wipe all nail debris away with provided alcohol wipe making sure to get in cracks on nail edges. If you have it, wipe with a higher percentage of alcohol to dehydrate more thouroughly.
- Step 6- *Optional, not included in kit* dehydrate nails with acetone with a lint-free wipe. Continued optional: Acquire our Ph Bonder. Make sure cleansed nail is completely dry. Apply Ph bonder in a thin layer to nail, making sure to not touch the skin or cuticle area. (Wipe brush off on lint-free wipe before adding back to the jar to keep clean). Wait 30-60 seconds or until dry. Apply two layers for extra adhesion and protection of the nailplate.
- Step 7- Apply Glue. *if using a liquid glue*, add a drop of glue onto the underside of the false nail in the center part that is curved. Add a thin layer across the entire natural nail. Flip false nail over and begin laying nail down at a 45 degree angle starting at the cuticle. Slowly lay down the nail, watching for excess glue on the sides. If glue spills out, take the alcohol wipe right away to clean it off. If you don’t it can tarnish the surface of your nail and no one wants that! Hold the nail for 15-30 seconds. (PRO TIP: align the nail with the center of the finger not the center of the nail. This will help to make it look more straight and not like a press on).
- *if using a Brush-on Glue, add a layer of glue over entire nail. Flip over press on and add glue under false nail around cuticle are. Lay nail down at a 45 degree angle and hold for 30-60 seconds. This glue will settle over the next 15-20 minutes and fully cure over the next 24 hours.
- *If using a thick Gel Adhesive, add a decent amount of glue in the well/cuticle area of the press on of the press, making sure to add glue clear to the side walls of cuticle area. Press nail down in the same manner as previously mentioned glue, making sure to clean up excess glue with alcohol wipe if it spills out the sides. (PRO TIP: use provided Woodstick to clean any excess glue from underside if too much squeezes out. Wipe on a paper towel to dispose of afterwards, do not wipe on a nice towel). Hold nail down for minimum 30-60 seconds. This glue will settle over the next 15-20 minutes and fully cure over the next 24 hours.
- Step 8- Avoid water as long as possible (we suggest 4 hours) because the glue will still be settling even if it feels dry. The glue technically will be curing for the next 24 hours. Be careful in the meantime.
- Step 9- Apply Cuticle Oil to cuticles to keep them hydrated and properly moisturized. (Recommended to wait the 4+ hours for this step).
- Are these nails strong?
- Yes they are! We choose gel to apply to the nails because they remain flexible yet strong. We have transitioned to all gel tips instead of plastic to make them even more durable. Some sets will have the option of builder gel to further strengthen them as well.
- How long do the nails stay on?
- With proper nail prep (listed above) and proper use of nails in daily life, they can last between 1-3 weeks!
- Will my nails pop off? Any tips on how I can avoid this?
- Proper prep, accurate sizes, and nail use in everyday life will affect the longevity of the nails. If your nails are too tight, they will pop off. If your nails are way too big they can fall off as well. Ordering a sizing kit is the best way to make sure the nails fit properly!
- How do I remove my nails?
- Option 1- Grab a bowl of hot water. Add a few pumps of soap to the bowl (olive oil or other oil available will help as well). Soak hands for 15-20 minutes. Use a provided Wood stick or acquire a durable nail tool to loosen edges. If the nail feels loose enough, remove it. If not, continue to soak until it is ready. Put your nails back into the container for the next use. Use either acetone to remove excess glue on natural nails, or acquire a fine grit buffing block to remove excess.
- Option Two- Use “Kiss: Glue Off” to remove the nails available on our site to purchase. Follow instructions. *chisel tip not recommended, it is too thick and strong. Use wood stick or floss pick*
- Option Three- acquire an e-file or hand fill. Buff away as much of the design & tip as you can. Soak a small piece of a cotton ball in 100% acetone and wrap with aluminum foil. Use the file or metal tool to scrape off gel and glue until satisfied with amount removed. Nails will not be reusable. Finish with a shea butter or cuticle oil to help re-hydrate the dehydrated nails. Do not file aggressively on the natural nail, they will be flexible and easily manipulated due to the moisture of the acetone.
- Why did my nails come off?
- Prep, sizing, and daily wear. Oils lift the nails as well so either: refrain from using oily products and overly washing hands due to oils in the soap or use our PH Bonder before applying glue to bond the nail plate and glue better.
- What nail glue do you recommend?
- The kit glue (KDS) is a great option because it dries quickly and is quite strong. We recommend this glue for temporary wear (a weekend, wedding, photo shoot) because it can be more difficult to use due to the liquid consistency. We have had plenty of users keep their nails on for 3 weeks with proper prep and sizing. Our brush on glue is also great because the KDS glue can be runny. Make sure to add the glue on the underside of the press and then a decent layer to the natural nail, making sure not to touch the skin, to make the nails stick well. Lastly, we LOVE the Dashing Diva Fastbond Adhesive because this is a thick glue. It is almost a mix of the nail glue and a gel. It does not require a lamp to cure so this is a great invention! It is non-yellowing, has a minimum two week hold, and fills all gaps from difference in natural nail curve and press on nail curve. Does require soak off to fully remove in some cases. How to apply info listed above.
- What is included with each set?
- Nail set of choice
- Box to store nails in
- Basic Application kit
- Alcohol wipe
- Woodstock for cuticles
- Buffing Block
- File
- Gift from us bc you rock and deserve it hehe
- Can I alter the appearance of my nails myself? It is not recommended you do this?
- We only alter the shapes of the nails If requested. We will not be responsible if the shape is not what you imagined if you ask us to shorten or reshape one of our existing nail shapes. We have over 20 nail shapes for many different style preferences! You are welcome to file the edges but we don’t really recommend it if the set does not contain builder/strengthening gel due to chipping of gel polish. Any alterations after the order is sent out will not be refunded.
- Can I request a custom design?
- Yes of course! Head to our customs area under our “Made to Order” section and have your nails already measured from the sizing kit and the ideas or reference images. We will send your remaining price via email to finish purchasing your set.
- Can I shower or bathe while wearing my nails?
- Of course! If you choose to not use the Ph Bonder, the nails may lift with oils and water; we do not recommend taking long hot baths just because the heat and moisture combined hydrate the nail and oils and water lift the nails. But of course you are able to do this if you prep properly with the PH Bonder and Brush-On Glue/Gel Glue then there shouldn’t be a problem. We recommend acquiring gloves to wash dishes. This has been a life changer for us! It helps not to catch the nails on loose objects in the water and to keep them from getting wet for so long.
- What if the nails I purchased don't fit?
- We do have a sizing kit on the website. We highly recommend you purchase this kit before ordering in all shapes you want to wear. Free US shipping on sizing kits.
- Do you accept cancellations, returns or exchanges?
- We accept cancellations within the first 24 hours unless it has already shipped. Returns/Exchanges will not be accepted especially at this time during COVID-19. We will send any nails that arrive broken. You must send a picture of the set in the box with the missing nail/broken nail. If you break the nail on your finger, we will add a spot on the site to purchase a new nail.
- What forms of payment do you accept?
- We are transitioning to a new website. We will be using alternative payment options such as Paypal, Stripe, or Venmo (Afterpay Sezzle, etc will be coming shortly!)